
How to Format a Third Level Heading
Format a Third Level Heading Using an In-Line Heading Style
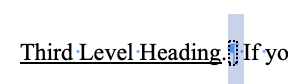
If you are using the Third Level Heading style from the Graduate School's Word template, please note that you must continue the paragraph in-line with the heading.
The heading style does not put the paragraph on the same line automatically, and you may run into difficulty if you simply use "backspace" or "delete" to bring the paragraph up.
One way to fix this, that may not work on all versions of Word, is with a Style Separator:
- Put the third level heading on its own line.
- Highlight the text and apply the third level heading style.
- Put your cursor at the end of the heading and click "Ctrl" + "alt" + "enter." The paragraph text should move up next to the heading.
MacOS users:
The Mac version of MS Word does not support the use of a Style Separator. Instead, a workaround for this is to insert a hidden paragraph line between the heading and the content. With this, 3rd Level Headings should appear in both the Table of Contents and in the Navigation/Bookmarks without applying the style to the whole paragraph.
1: First, in the Home bar, click the button to show paragraph marks.

2: A blue paragraph mark will now appear after your headings. Highlight just the mark and/or the small blue space dot, rightclick/two finger click and then select the "Font" options.
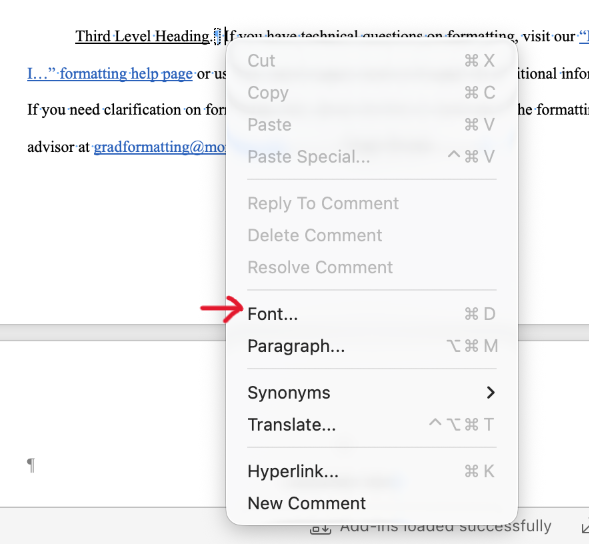
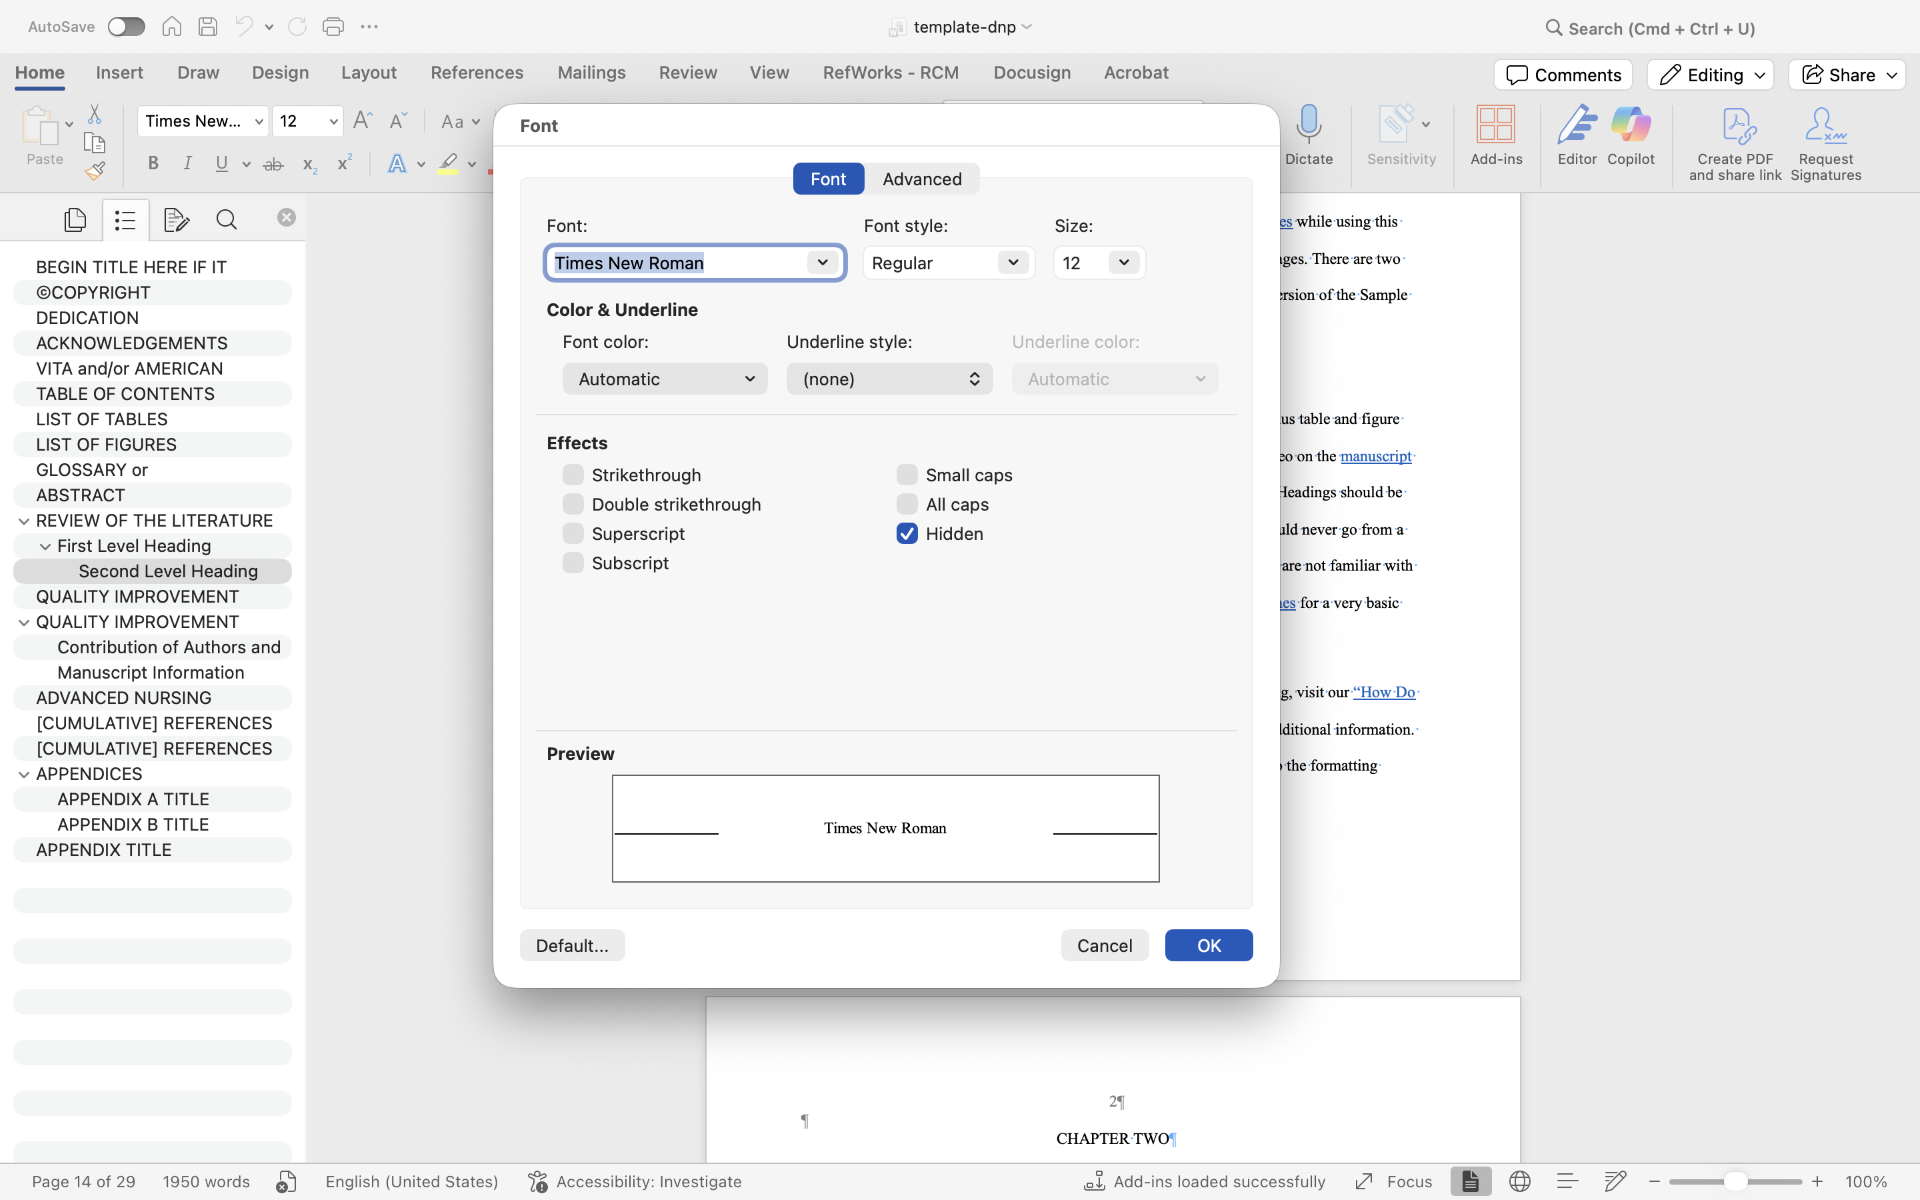
3: Within the Font options, select "Hidden" and then "OK".
4: Re-apply the 3rd Level style to the heading and then backspace/return the paragraph up to the heading. Check that the heading appears in the Navigation tab and update your Table of Contents if necessary.

- Student-suggested website covering style separators on a Mac.